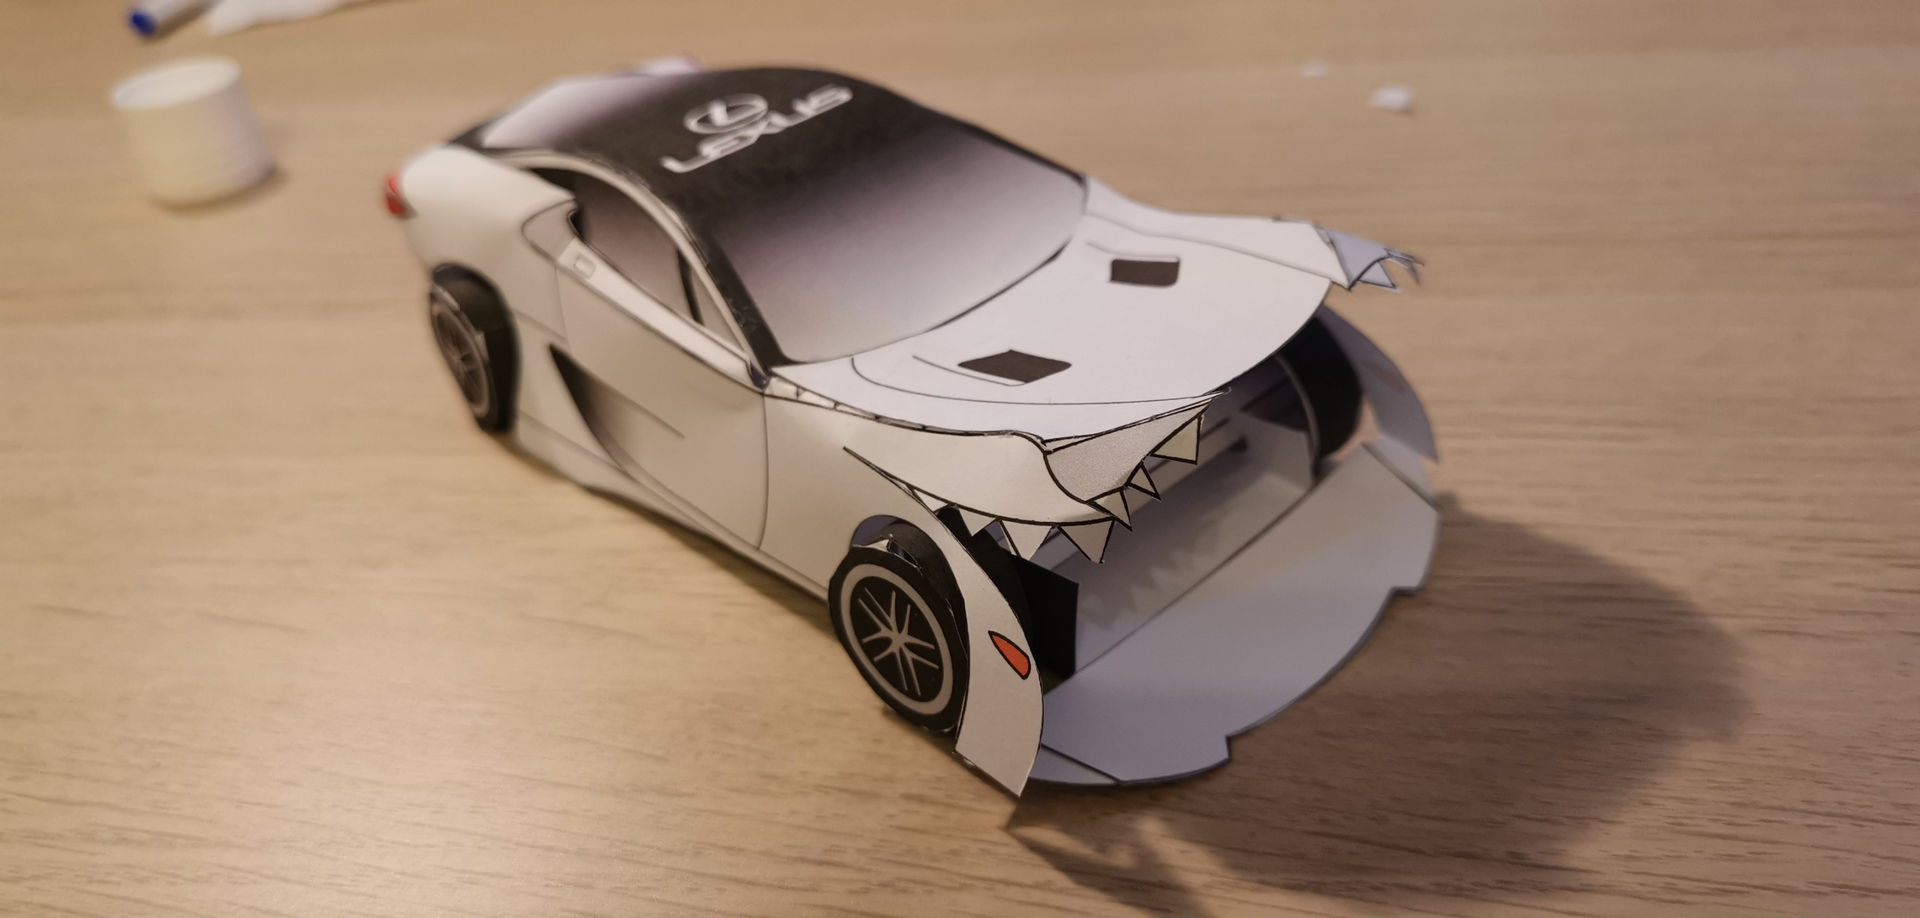
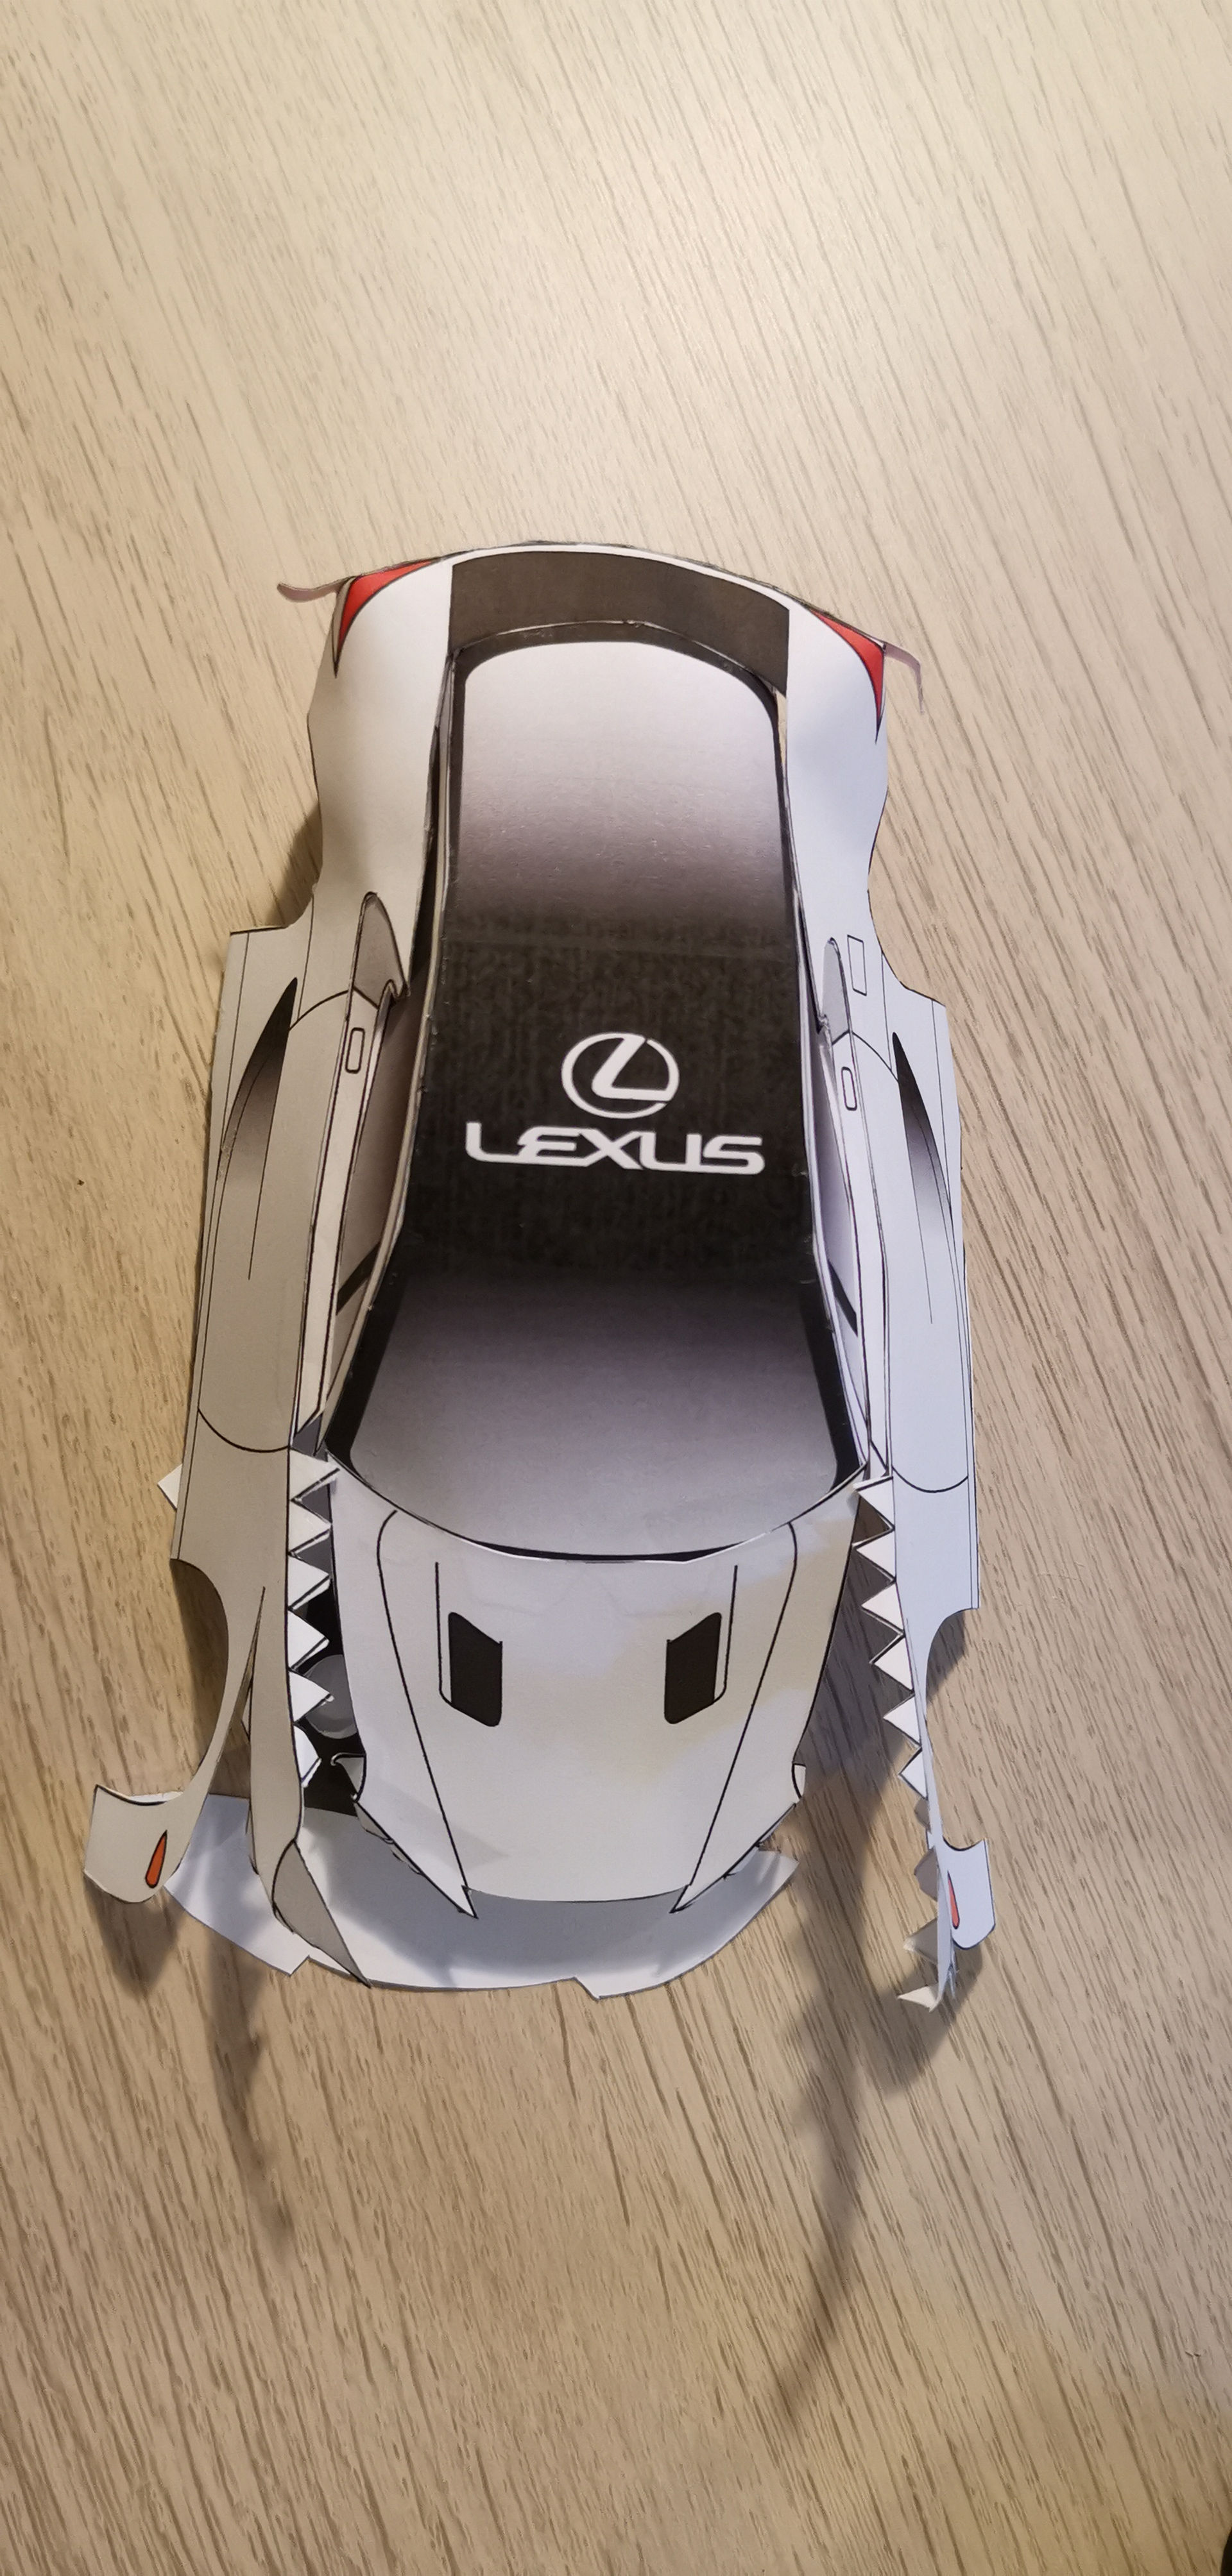
Believe it or not, it has been 10 years since the Lexus LFA was launched and while there are some low-mileage examples out for sale out there, only wealthy individuals can afford the Japanese automaker’s most famous performance model.
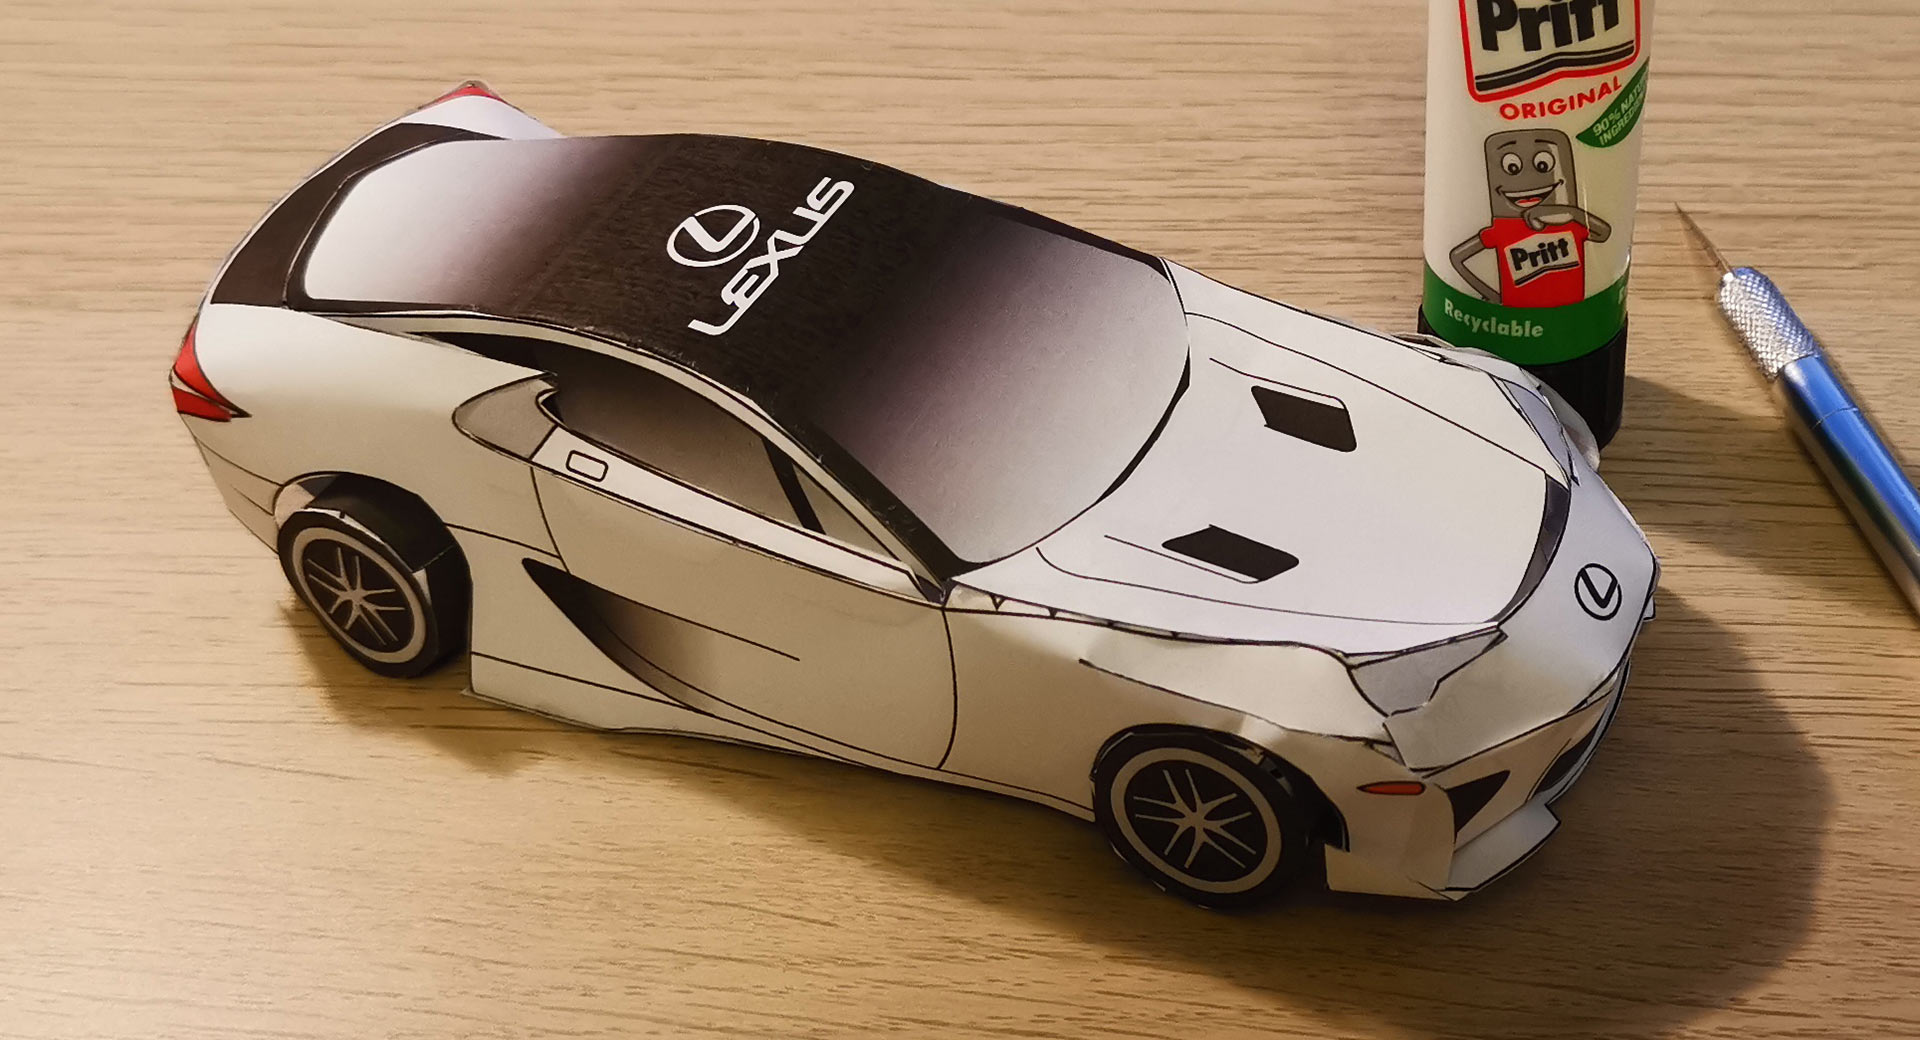
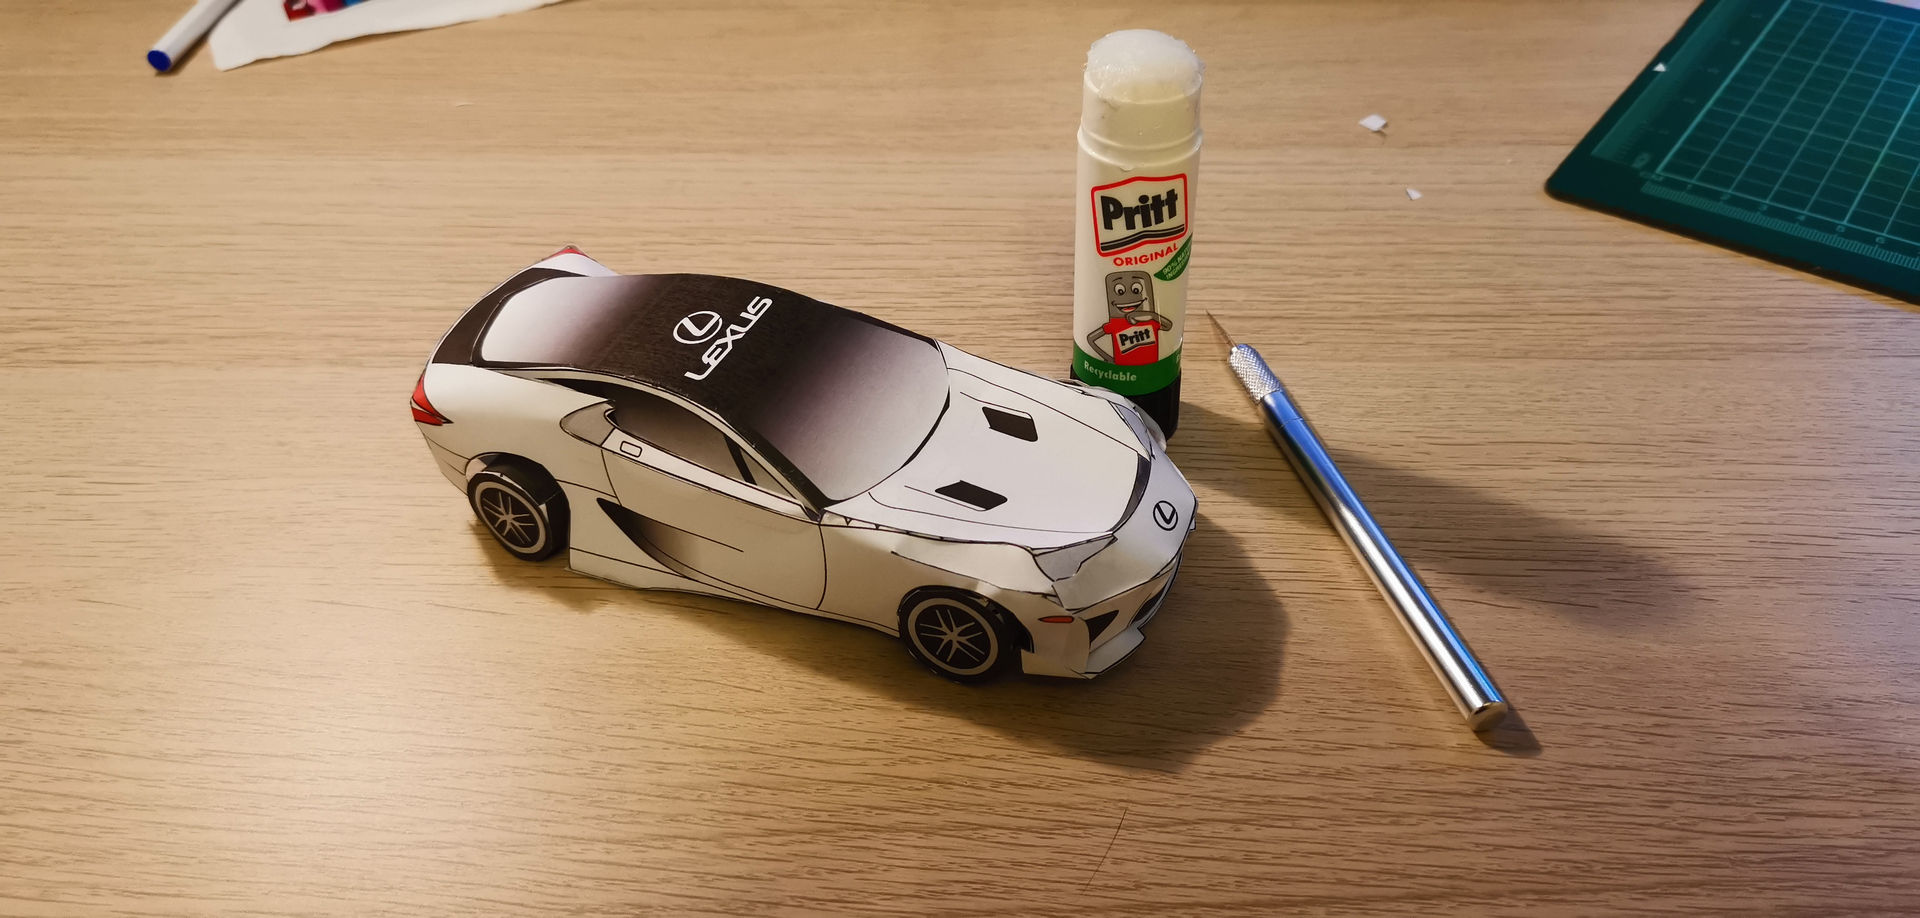
Good thing then there’s a way around that – well, sort of. To celebrate its 10th anniversary, Lexus has launched a scale paper model of the supercar that can be made at home, which is not a bad way to spend some time during the holiday period.
Read Also: What’s A Chrome Lexus LFA With Only 541 Miles Worth To You?
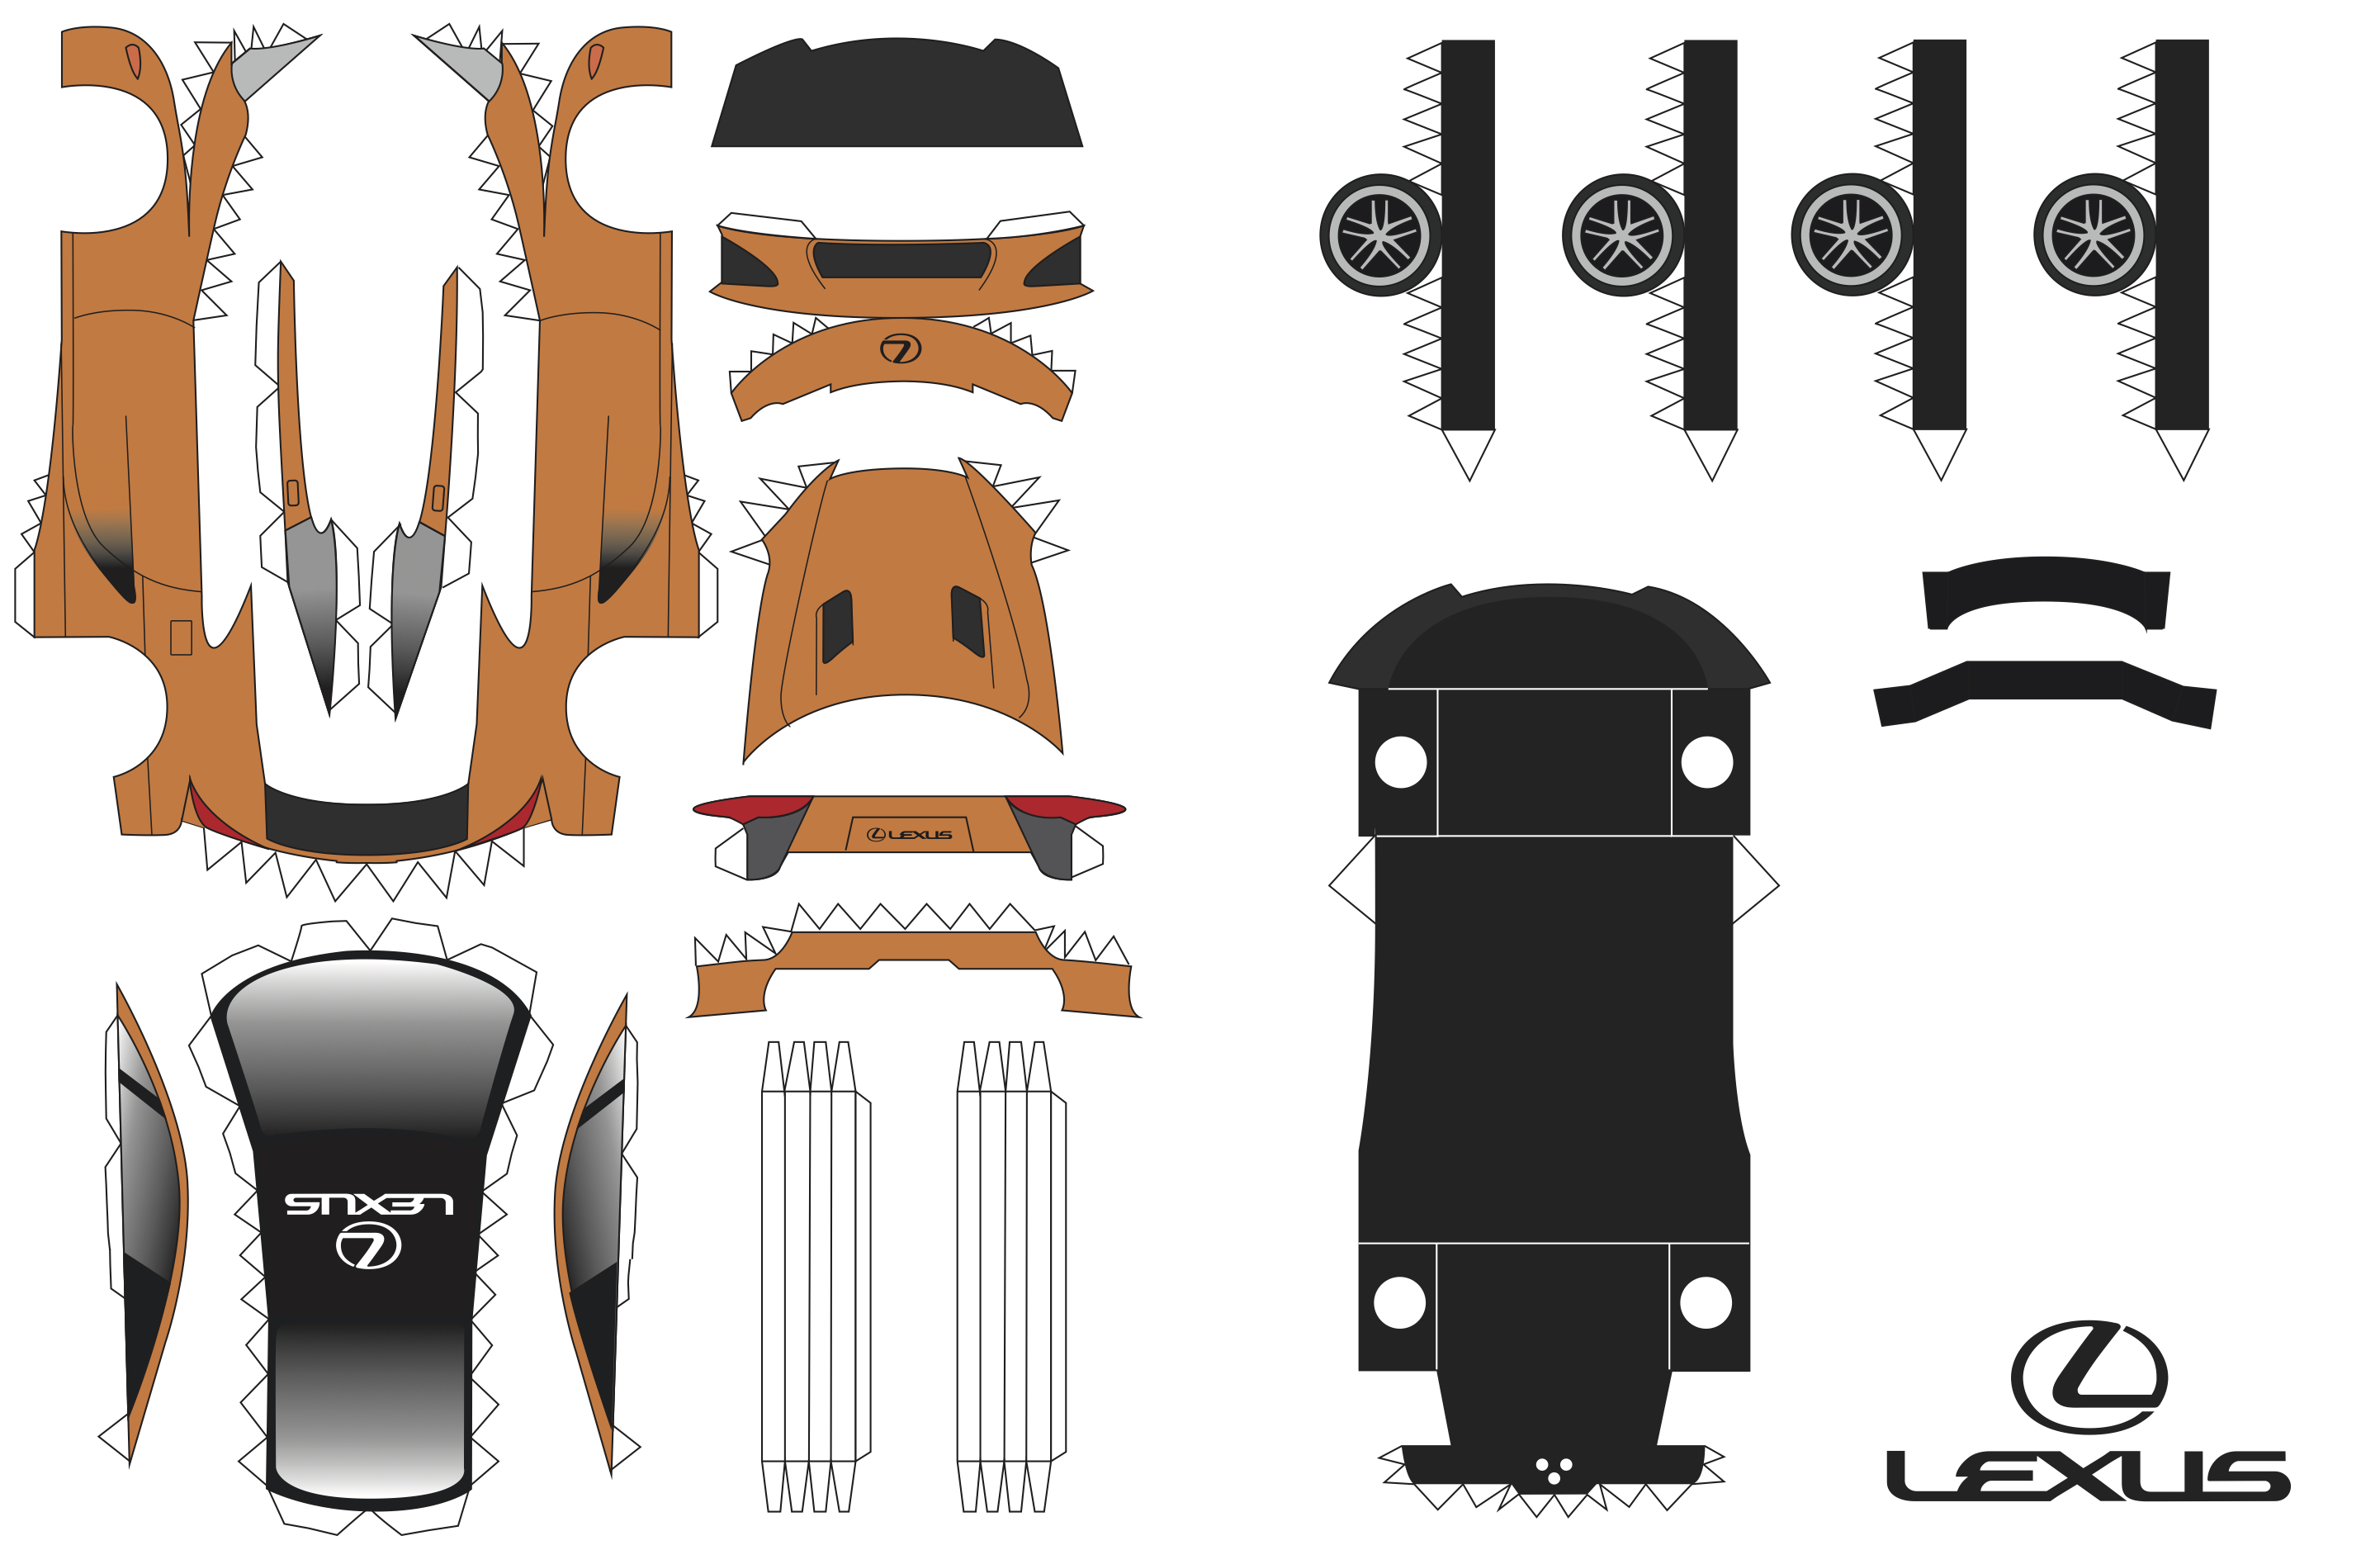
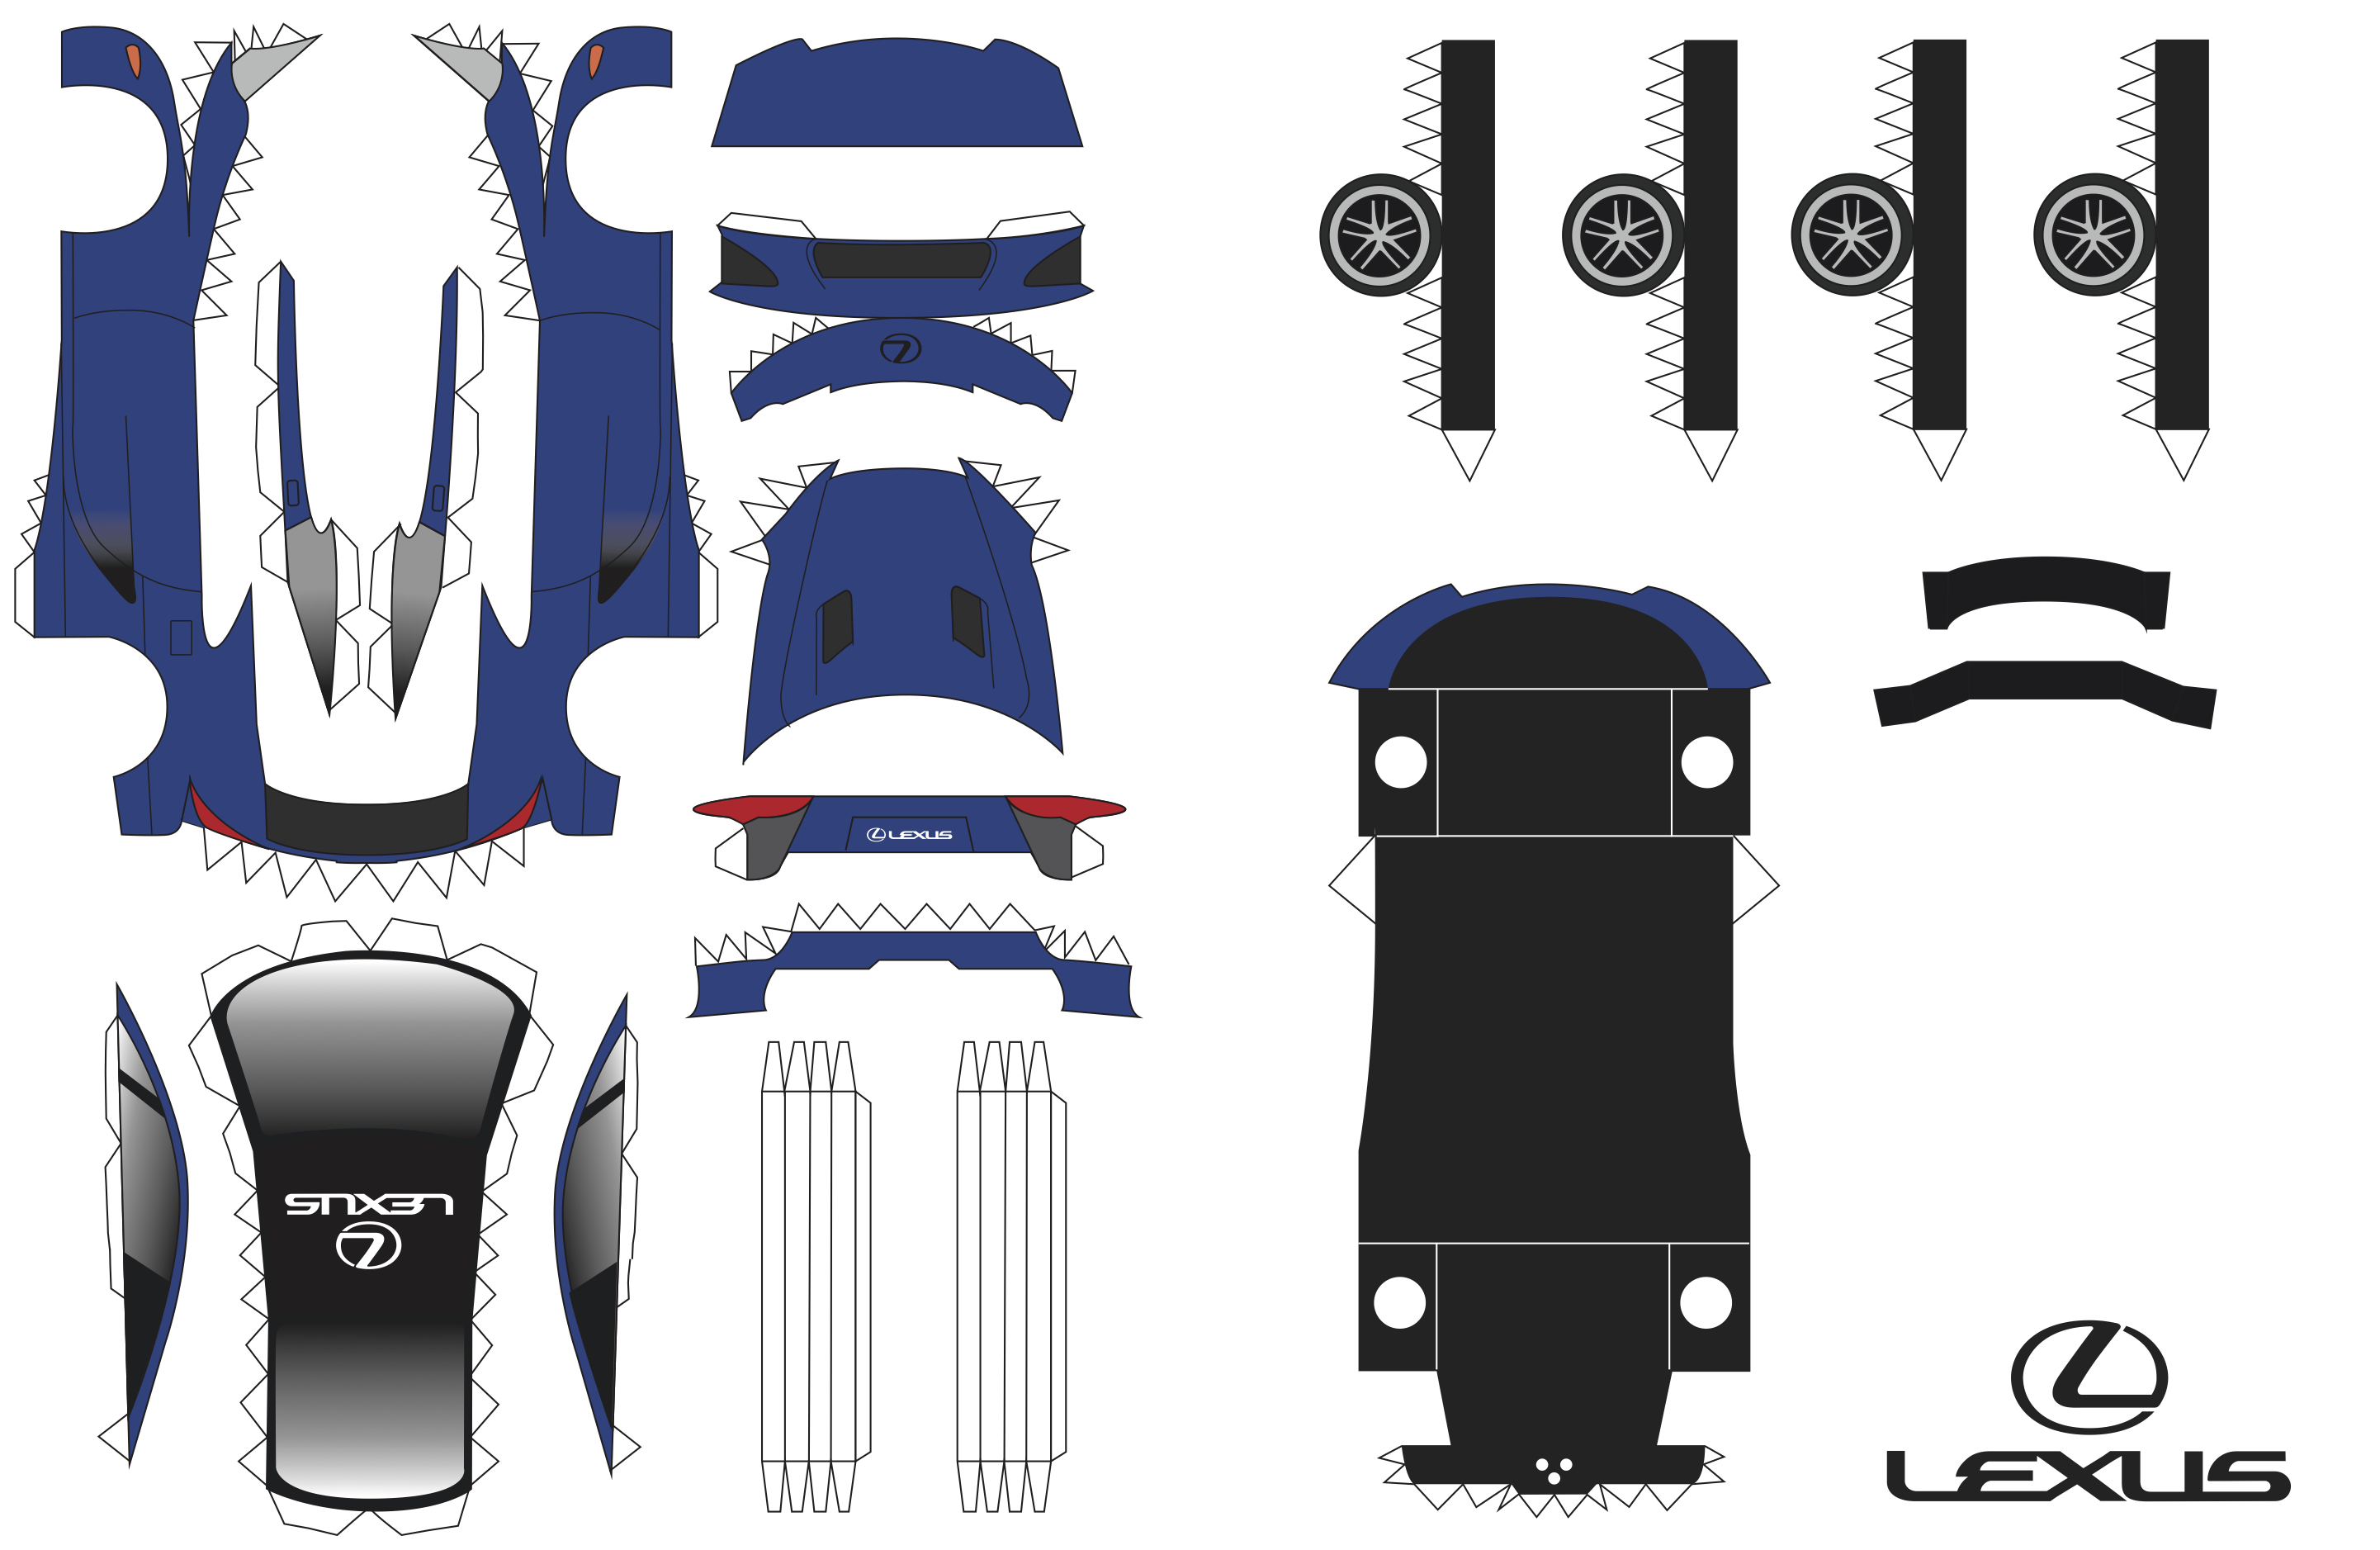
There are four full-size Lexus LFA templates right below. The first is finished in white with a black roof, the second in orange, the third has a Gazoo Racing livery inspired by the LFA race car, and the fourth if finished in blue. Lexus recommends printing the template on an A3 sheet of paper to make construction easier and to give you a larger model. If you don’t have access to an A3 printer, A4 paper will work just fine.
In addition to paper, those want to create their own LFA will need some paper glue or double-sided tape and a pair of scissors.
Full instructions:
Step 1: Download a high-resolution PDF template of the model. There are four designs to choose from, each highlighting a different element of the LFA’s history. If you have the option, print the document inn A3 rather than A4 size, as this will make the construction easier and will give you a bigger model at the end.
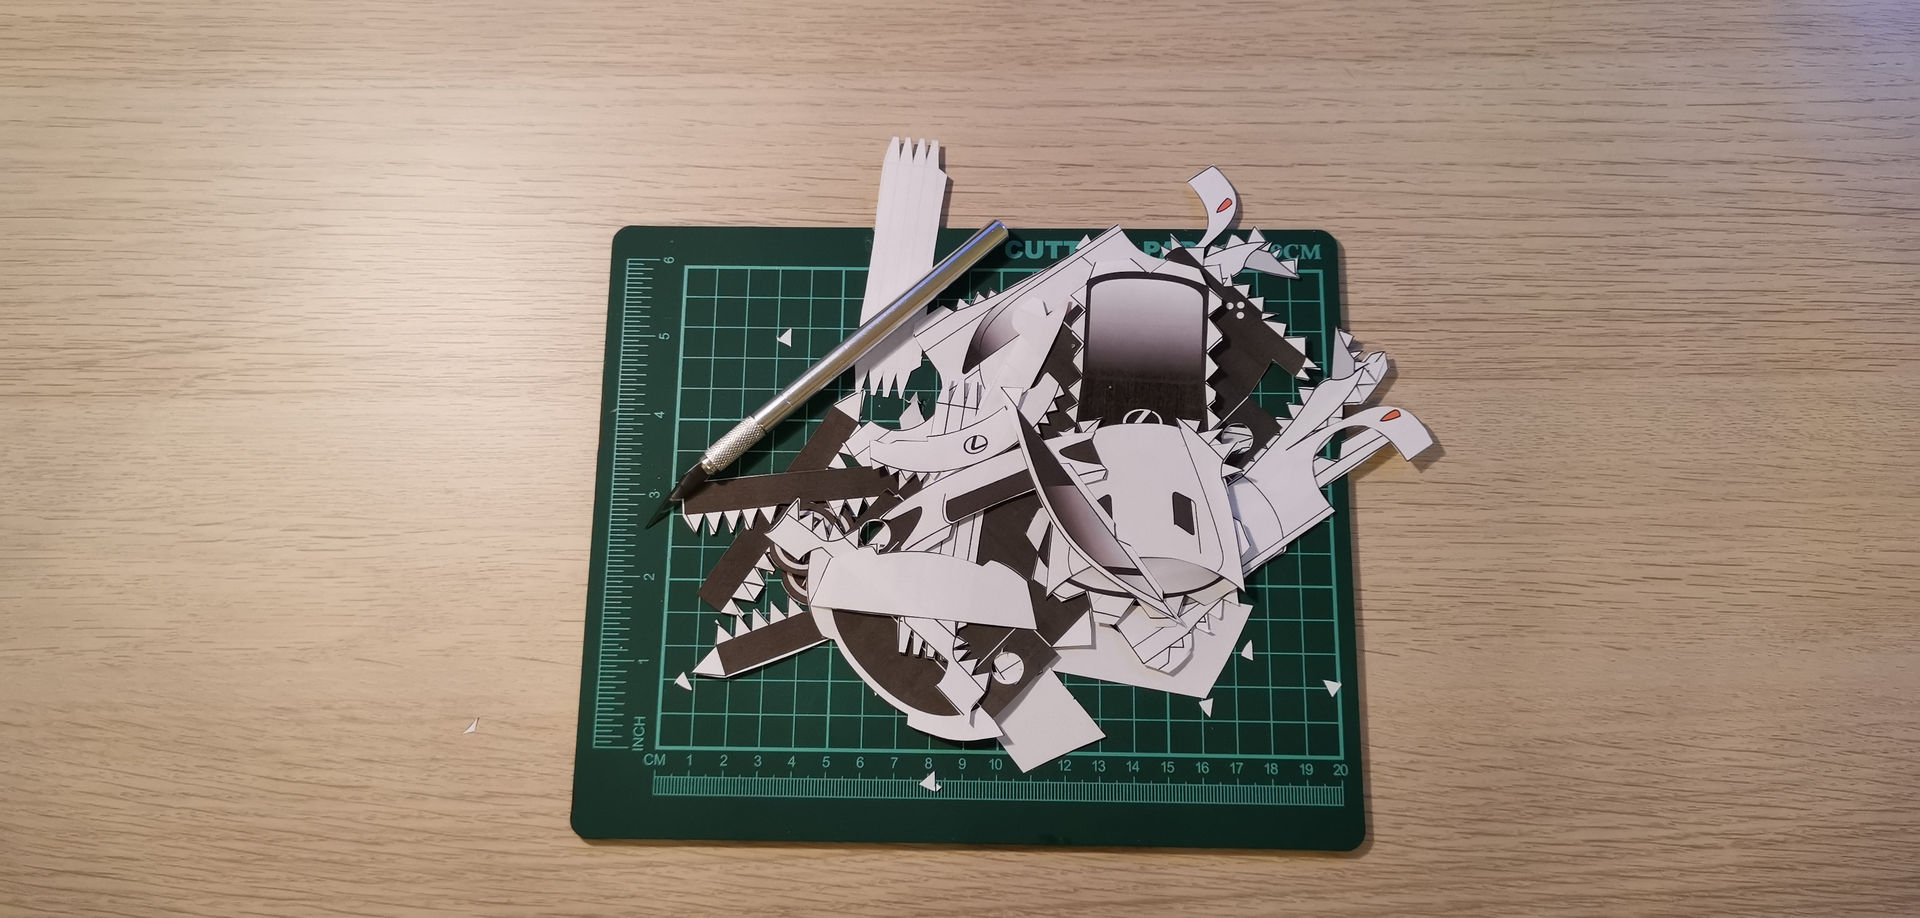
Step 2: Cut out the templates, being careful not to leave off the tabs. For each of the following steps, you will need to fold and glue each of tabs to the relevant panel.
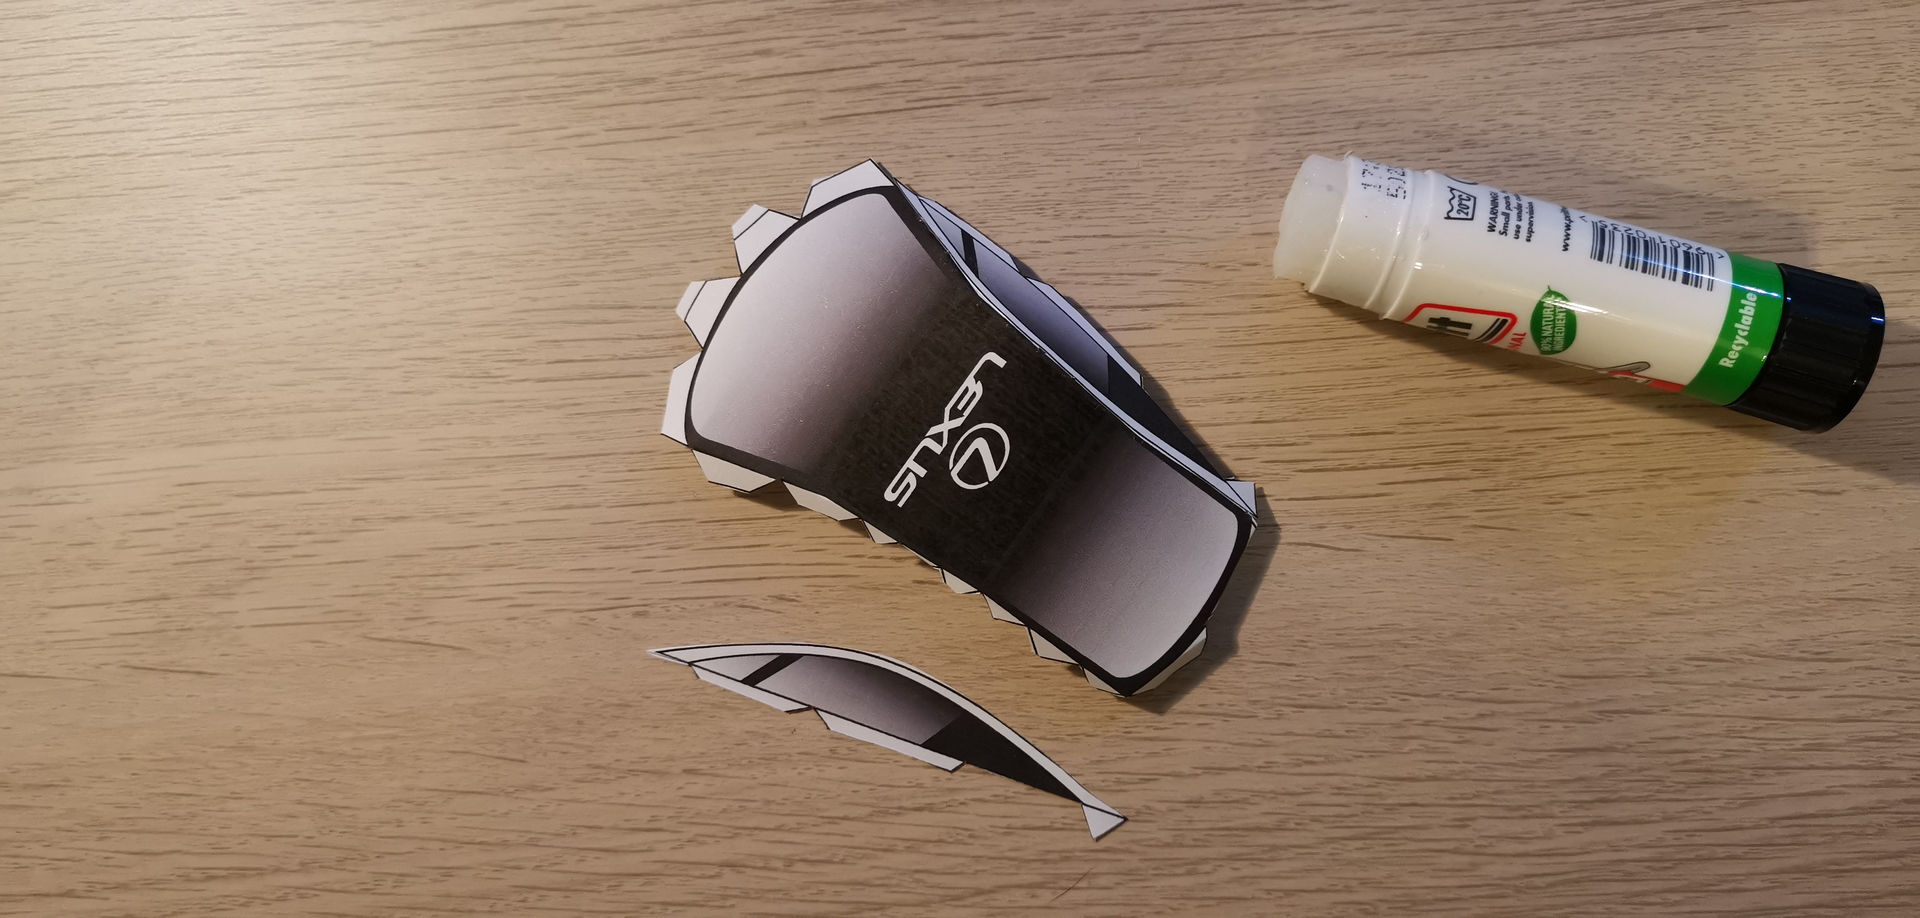
Step 3: Start gluing the individual parts together. Take the roof panels and attach the two windows.
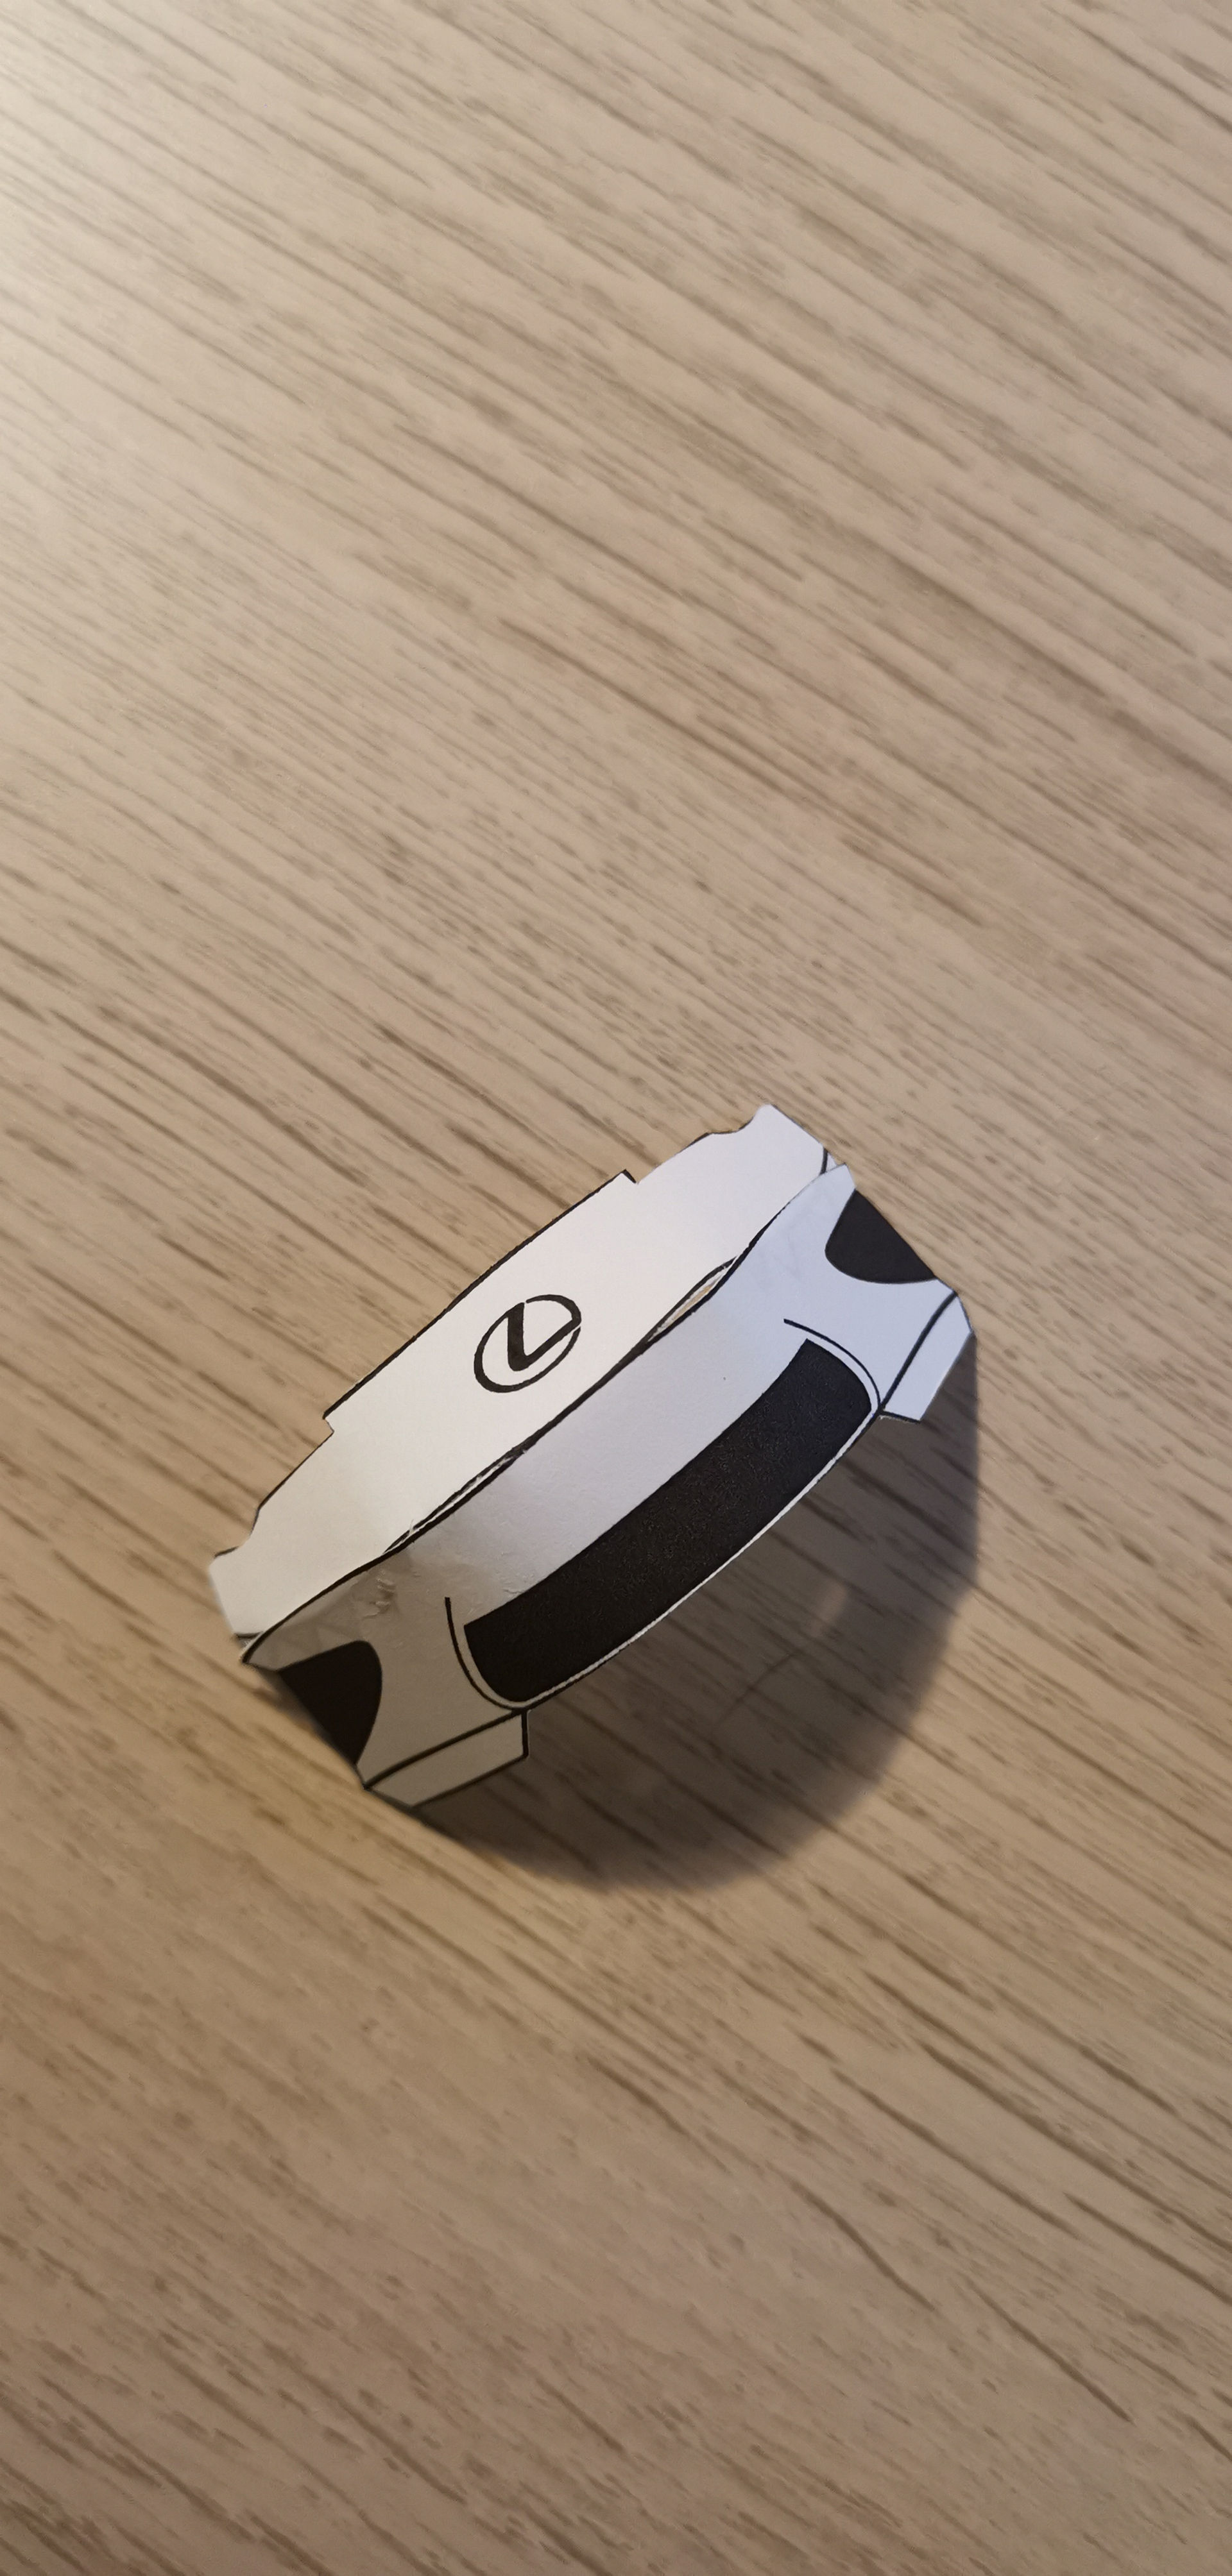
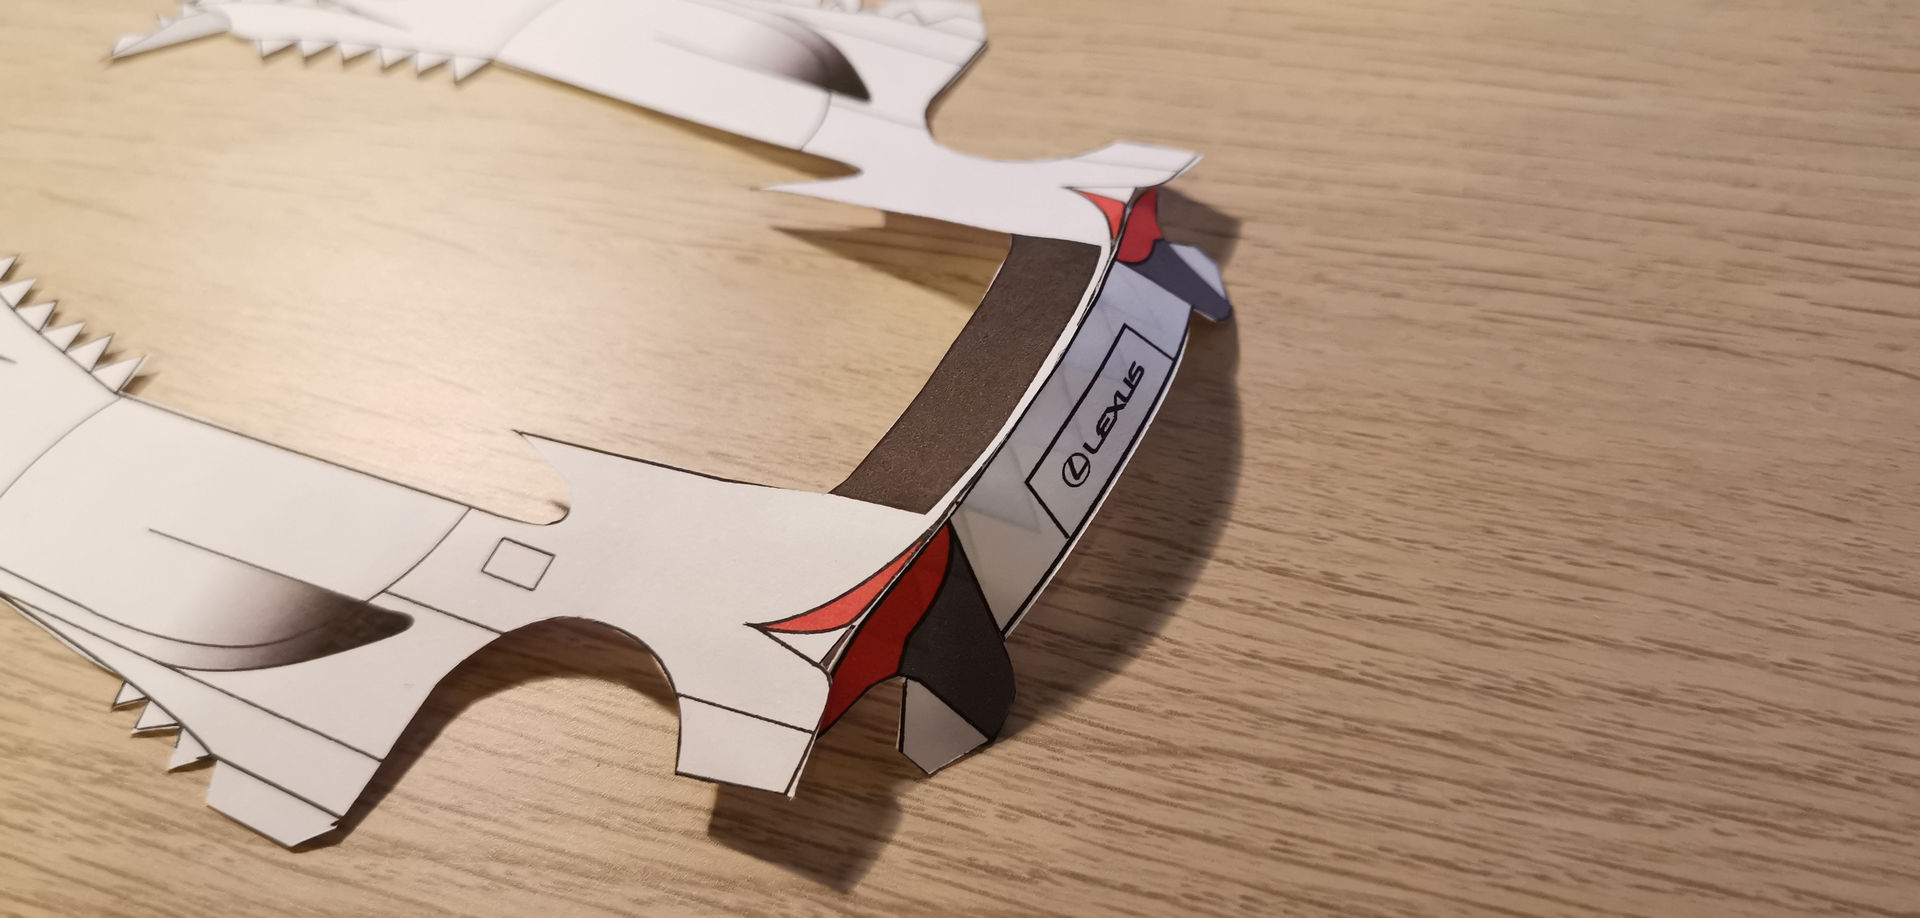
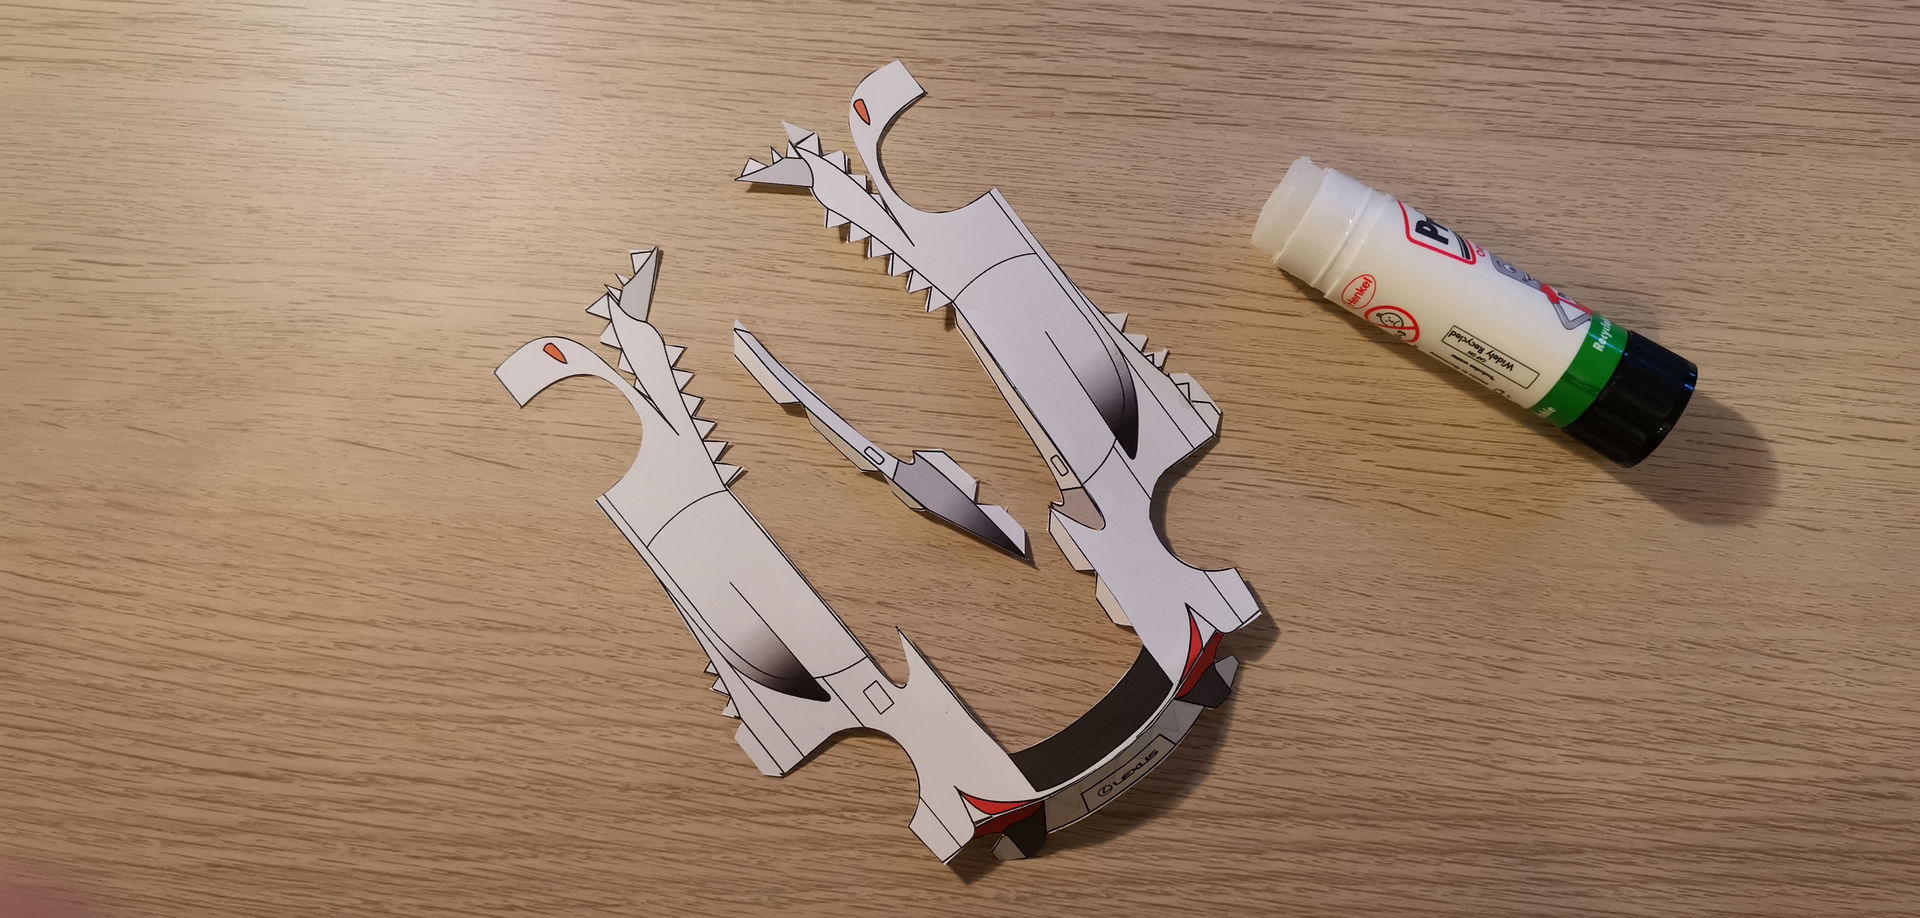
Step 4: Build the front of the LFA using the two pieces provided. The third piece will be needed later.
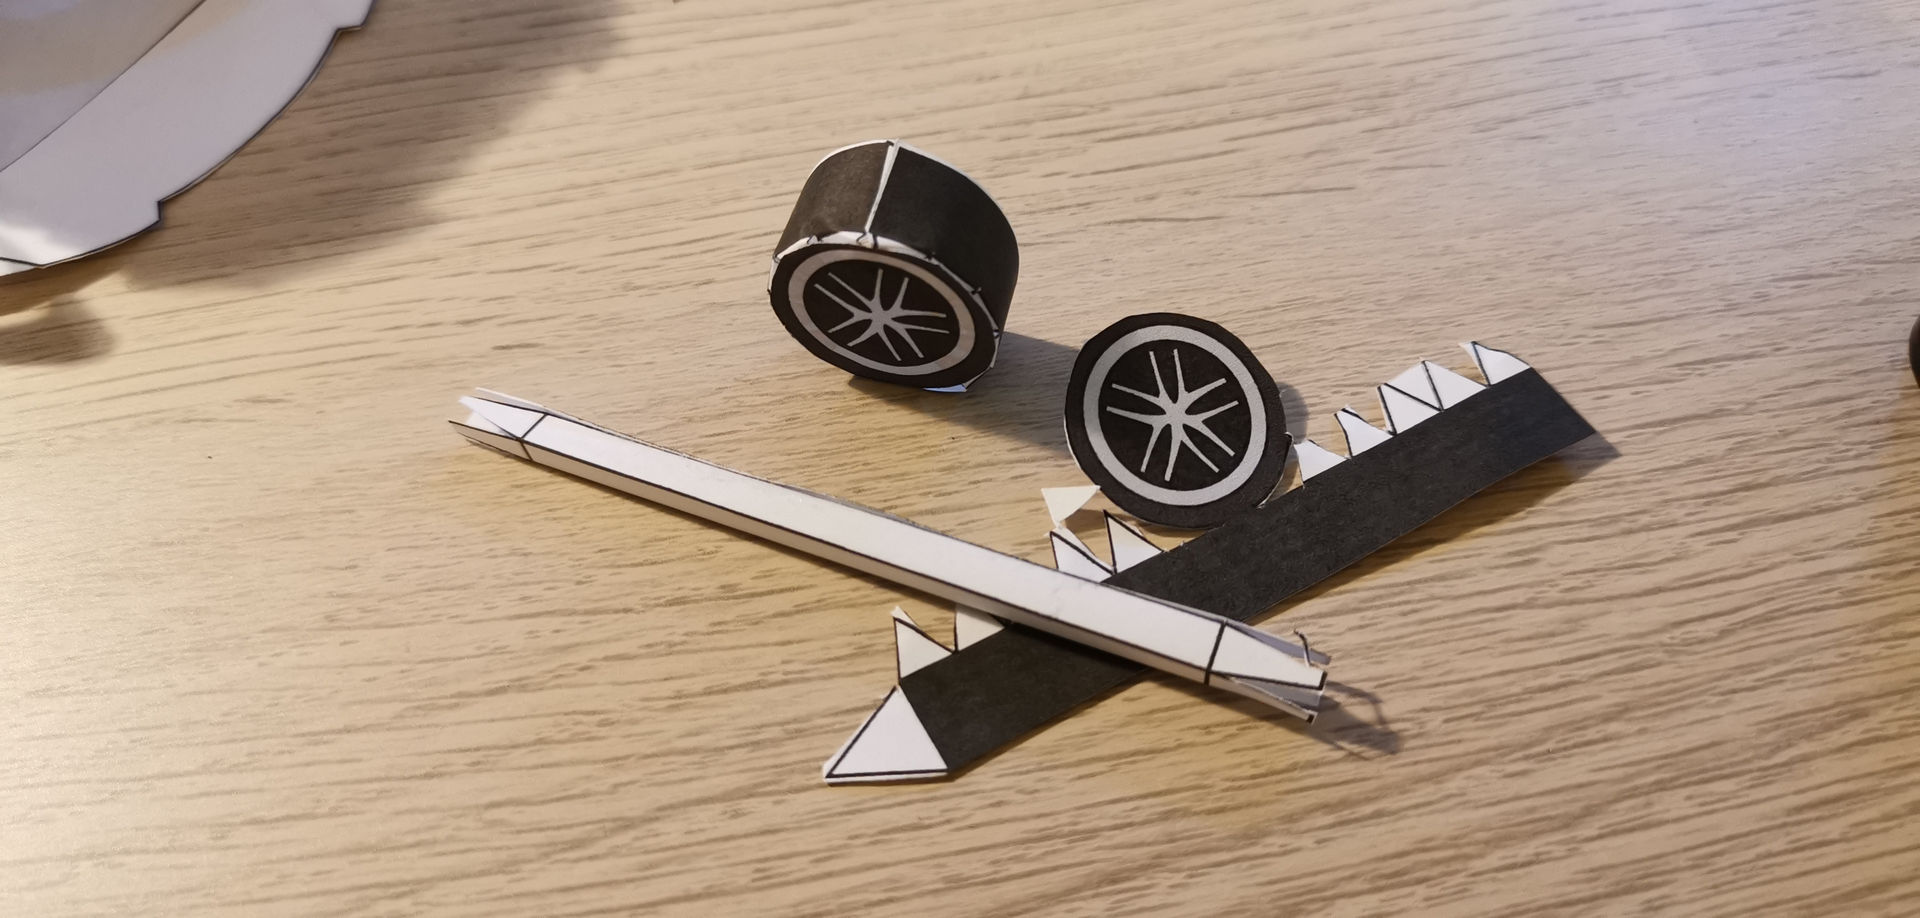
Step 5: Create the four wheels and axles. Roll the black tires into wheel shapes, folding in the tabs, and then attaching the wheel hub. Create the axles by carefully folding the paper along the lines.
Step 6: Next, attach the rear to the sides of the car.
Step 7: Fold down the rear.
Step 8: Affix the top of the doors to the sides of the car. You can see in the picture that one of the doors has already been attached on the right-hand side.
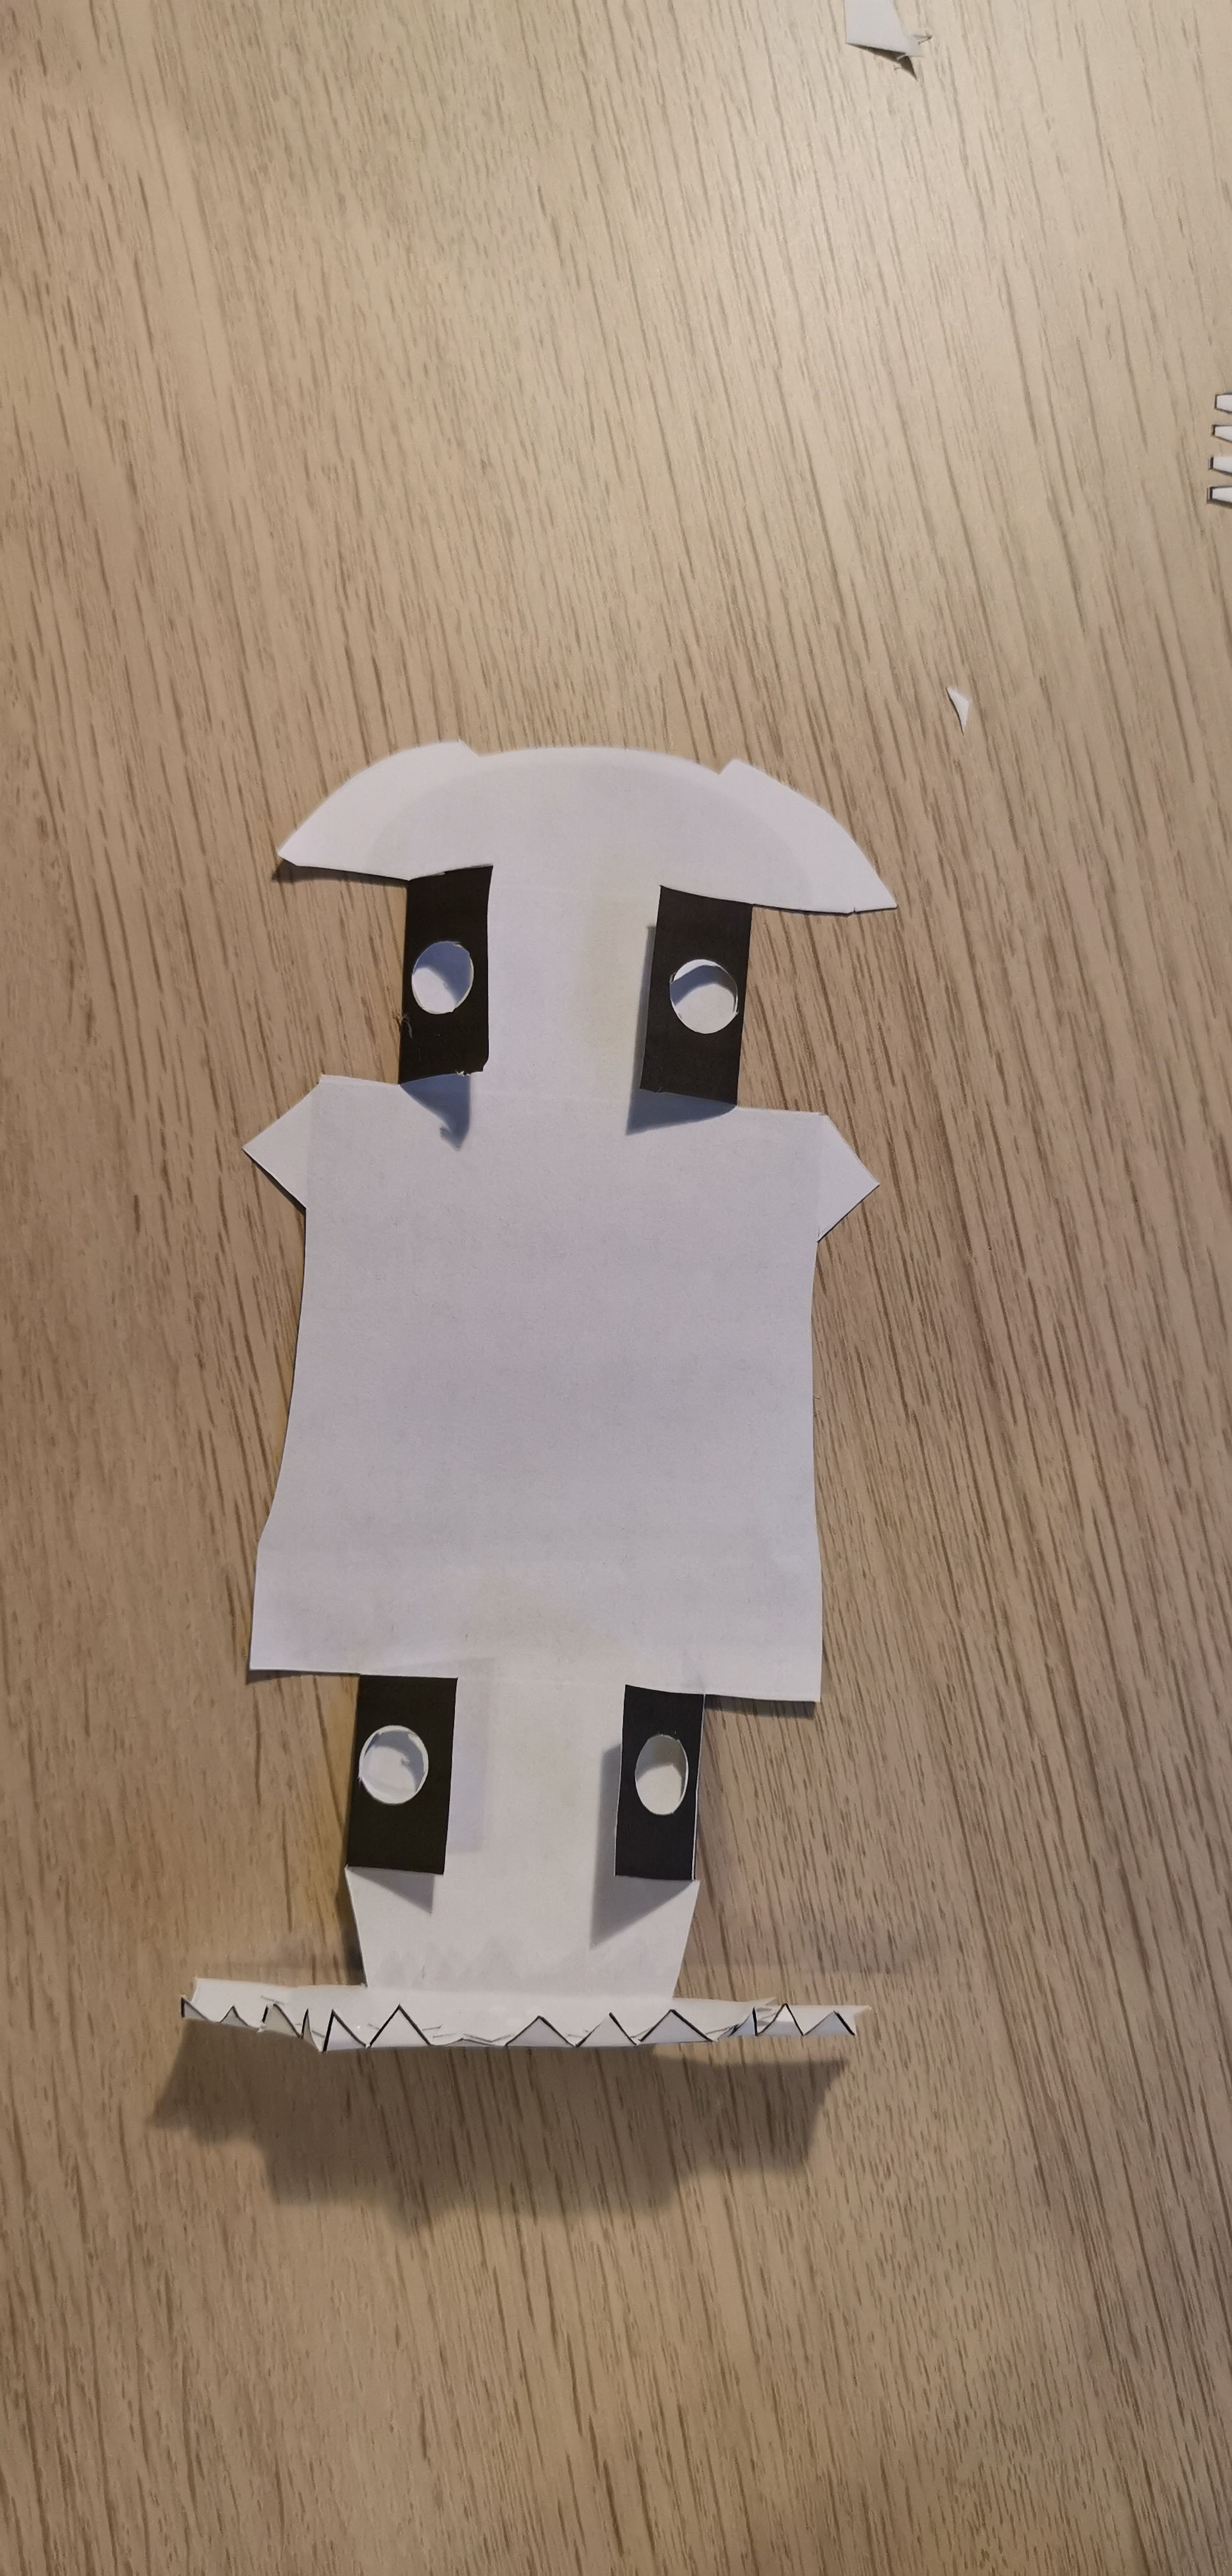
Step 9: Prepare the underneath of the model. Cut the holes in the black tabs – this will allow the axles to run through the model. Then turn the model upside down. Fold the rear of the car and the holes upwards.
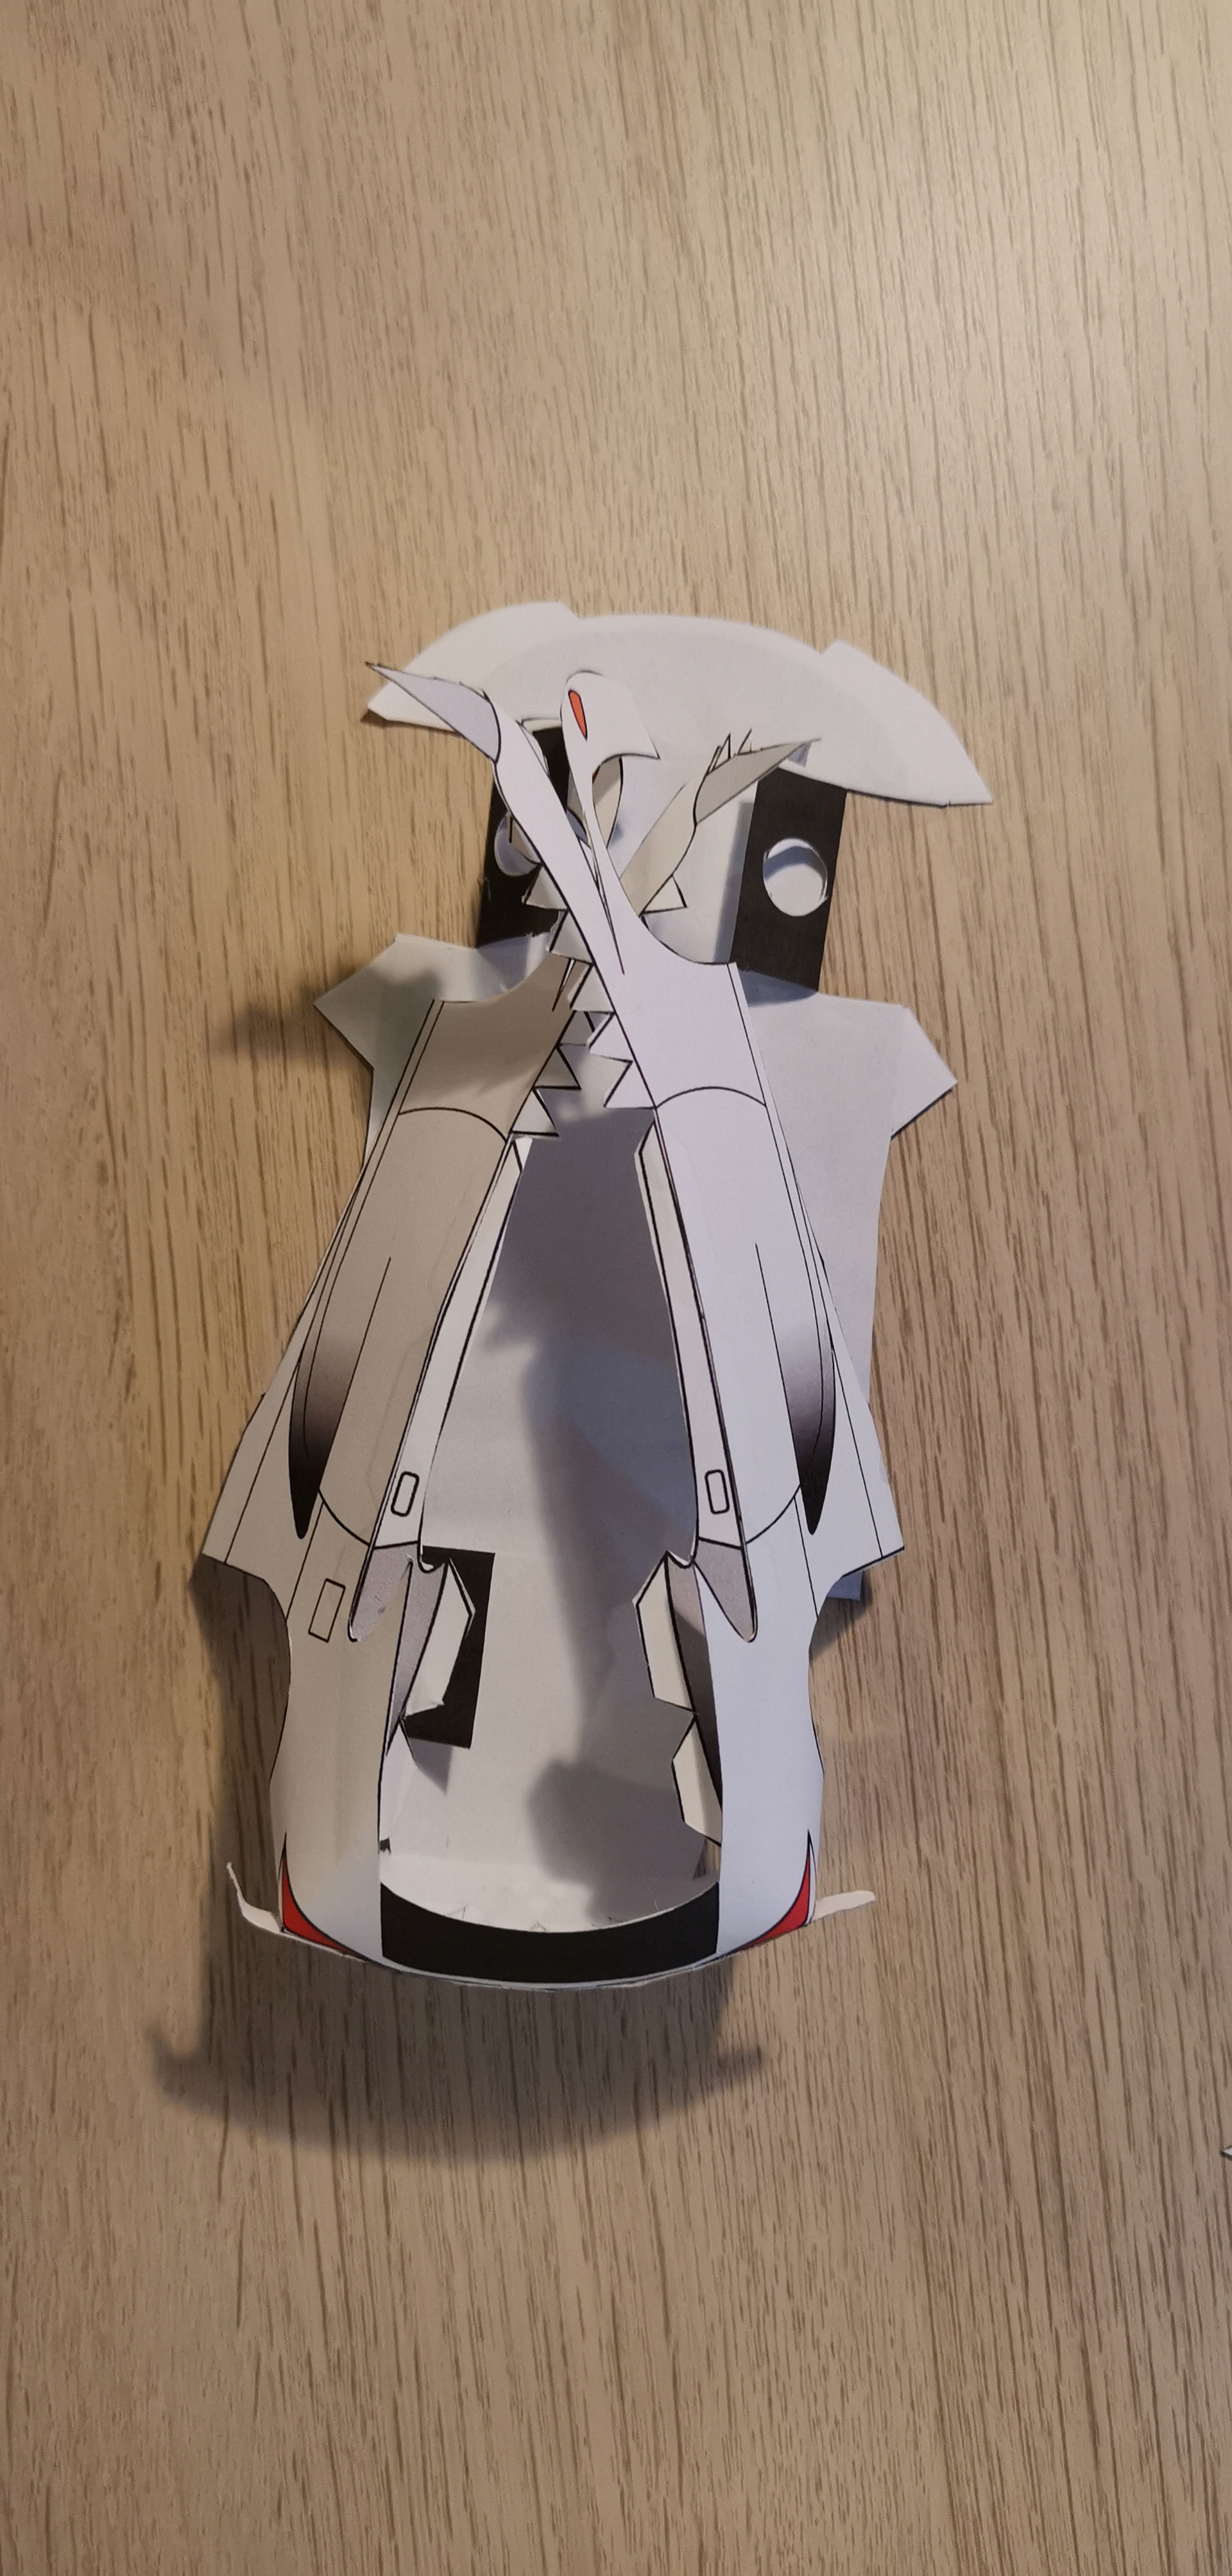
Step 10: Attach the sides of the car using the tabs on the rear and center of the underbody section.
Step 11: Attach the bonnet to the roof section. Then, working from rear to front, attach the roof to the tabs on the side of the car.
Step 12: At this point the LFA should start to take shape. Take one end of the axle and attach the wheel, push it through the holes in the model and attach the other wheel when done. Repeat this for the second axle and wheels.
Step 13: Add the additional front piece (referenced in step four) to the bottom. Then attach the front. If building the Nürburgring Edition or racing version, add the spoiler to the rear.


